How to Add an Agency to Google Tag Manager
Published on:2021-02-05
byJeff Cooper, Founder & Owner, Saltbox Solutions @ Saltbox Solutions
The Google Tag Manager (GTM) platform lets marketers install and adjust tags on your website. These are essential for website improvements, form tracking, and platform integrations (such as Google Analytics)—without requiring code adjustments on your website.
This platform also lets you enjoy agency support with an added layer of ease and security. GTM offers extensive transparency on who is making changes to your website and complete control over who has access to your account. So how do you add and manage users on Google Tag Manager? Here is a 7-step guide on adding an agency to GTM and further platform insights.
Before Getting Started: Account Vs. Container Access
Before adding an agency to your Google Tag Manager account, you need to decide which level of access you would like to extend: Account Admin access or Container User with Publish-level permissions.
ACCOUNT ADMIN: GOOGLE TAG MANAGER
This account level gives your agency the power to edit, create, and manage users and containers. Admins can also increase their own permission and send access invitations. If you add one member of your agency to the account as an Admin, they can then add the rest of their team.
Account Admin Permissions
Account Admin is the highest level of access you can grant in your Google Tag Manager account. Admin access makes it simple to get started, as you only need to add one user, and your agency does the groundwork of adding and managing the rest of the members of their team.
Conversely, extensive permissions give users a great deal of control over your website and your account. We only recommend adding highly trusted agency partners to your account at this level, as they could remove your access or delete the container entirely with this level of clearance. This is also why you should regularly monitor your account and revoke access from anyone who is no longer working with your business.
CONTAINER USER: GOOGLE TAG MANAGER
Within Google Tag Manager, you can also choose to add users to certain containers instead of granting access to your entire account.
With Publish permissions, container-level access lets your agency fully manage a single container. At the container level, users can not create new containers or add new users. For this reason, you will need to send a GTM invitation to each member of your agency’s team for each container you would like managed.
Container Permissions
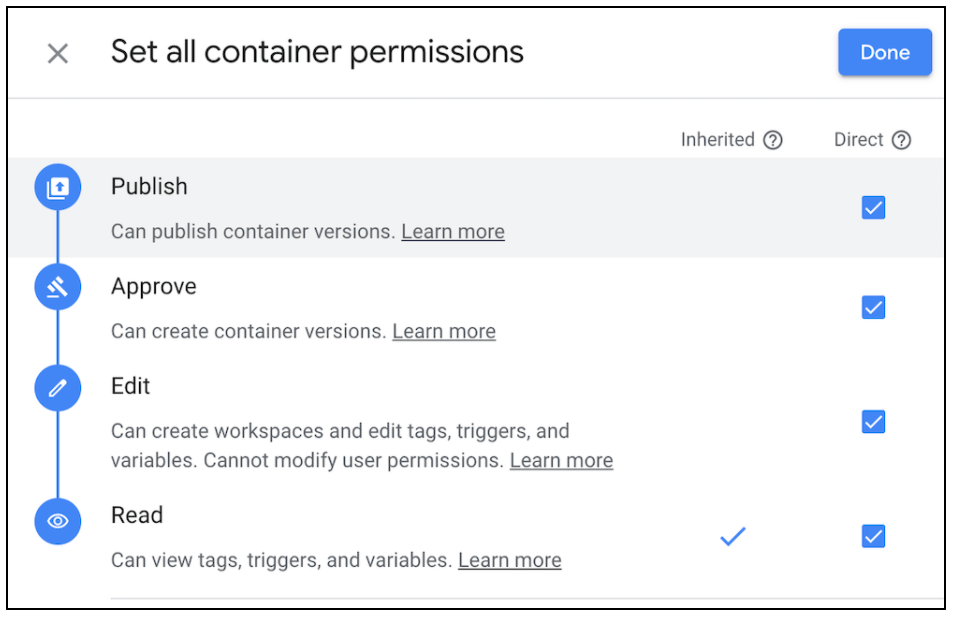
Permissions can be customized for every user within each container. Google Tag Manager offers 5 permission levels:
Publish permissions
give users full access to create container versions, workspaces, make edits, and publish.
Approve permissions
give users access to create container versions, workspaces, and make edits.
Edit permissions
give users access to create workspaces and make edits.
Read permissions
give users the ability to view-only access to a container.
No access
permissions restrict users from viewing the container.
You will need to set permissions that enable all of the support you would like from your agency. For full support, this will be Publish-level permissions. If you would like to approve agency changes before publishing, you can grant Edit-level permissions.
A Step-By-Step Guide: Adding an Agency to GTM
Step 1: Log Into Your Account
First, log into your Google Tag Manager account at https://tagmanager.google.com/.
Step 2: Enter Account Administrative View
First, click into the account or container you would like to add an agency to.
Then, click “Admin” in the upper left-hand corner to access the GTM administrative view.
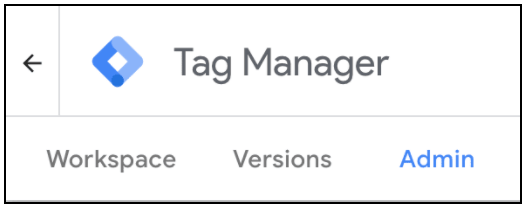
You can also jump straight to the administrative view by clicking on the cog icon next to the account.

Step 3: Select “User Management”
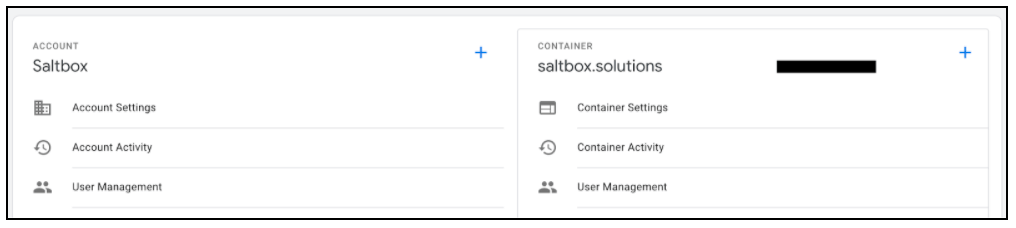
Under the “Account” or “Container” tab, click on “User Management.” Here you can add users, remove users, modify permissions, and view a full list of everyone who has access to your account.
Step 4: Click the Blue Plus Sign
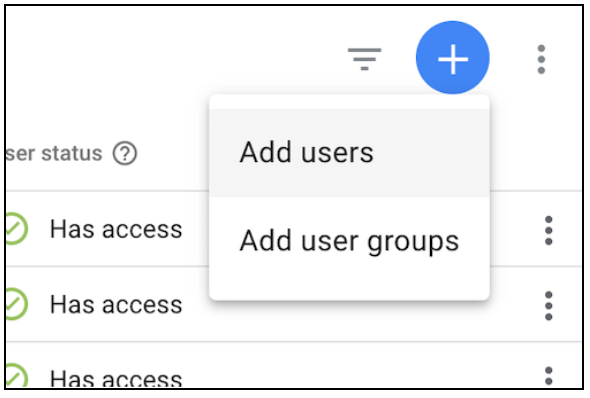
Click the blue plus sign button in the top right corner of your screen, and select “Add users.” This will bring you to the GTM invitation.
Step 5: Enter User Information
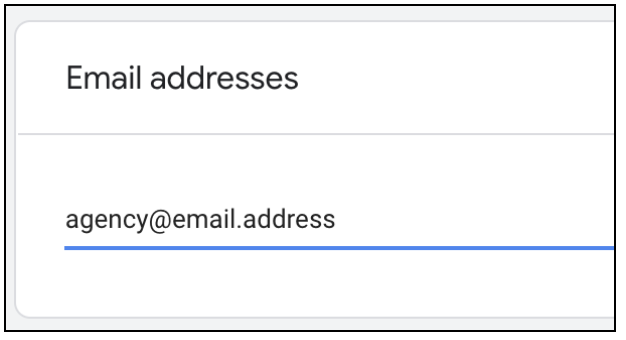
Enter the email address of the user(s) you would like to add. The Google Tag Manager invitation will go directly to their email address.
Step 6: Set Permissions
Next, select your account level and permissions. You will want to ensure that your access gives your agency the ability to complete any tasks you would like their support on.
ACCOUNT PERMISSIONS
In the account view, you will need to check “Administrator.” (“User” will naturally remain checked, as this is an inherited account level).

CONTAINER PERMISSIONS
For container access, select “Container Permissions.” Then, select the box next to the highest level of permissions you would like to grant to your agency (Edit or higher). If applicable, click “Done.”
Step 7: Click “Invite”
Finally, click the blue “Invite” button to send account access. Once they accept the invitation, your agency will then be able to start working in your Google Tag Manager account.
If you need help managing your web analytics, contact us to see if we can help.


Jeff Cooper
Founder & Owner, Saltbox Solutions, Saltbox Solutions
Jeff Cooper founded Saltbox Solutions to help B2B software, cybersecurity, and professional services companies attract and convert more customers online. Combining expertise in marketing strategy, software development, and analytics; Jeff has spent over 15 years building scalable, results-driven programs that deliver measurable growth. Earlier in his career, he led digital acquisition initiatives for major consumer product, technology, and insurance brands including Bass Pro Shops, RackSpace, La-Z-Boy, and HealthMarkets.
Today, Jeff serves as an advisor and owner of Saltbox Solutions, guiding strategy and innovation while exploring new ways to apply AI and automation to client campaigns. His focus remains on helping businesses achieve predictable, sustainable growth through data-driven decision-making and cutting-edge technology.